The Lean Green Bean

Thursday, August 26, 2010

It was a busy day of bread...

Hi Friends-

To continue my adventures in bread-baking today, I decided to also make a loaf of wheat bread in the bread machine. First of all, if you don't have a bread machine, GET ONE! But DON'T PAY FULL PRICE!! I got mine at a garage sale last summer for $5!!!! It had no instruction manual, but we googled the model number and found the entire instruction and recipe book online in pdf form. Seems like people are always trying to get rid of their bread machines, but I'm not sure why. Yes, they're heavy, big, kinda hard to clean....but all you have to do is throw 5 ingredients in the pan, press a button, go do something else for 4 hours and out pops an awesome loaf of bread! Doesn't get any better than that in my book. I don't use mine often, but I've done pizza dough, wheat bread, cinnamon raisin bread...


Don't get me wrong...it doesn't always turn out right. I got the itch to make bread last week and I tried to make a loaf of wheat bread. It was awful. Biggest mistake- I used all wheat flour which made it really dense and chewy. And it just plain sucked.

So I tried again today. The recipe I used had a combination of bread flour and wheat flour and used honey which added some sweetness.

Here you go:


Ingredients:
1 1/8 cups warm water at 110°F
3 tablespoons honey
2 tablespoons vegetable oil
1/3 teaspoon salt
1 1/2 cups whole-wheat flour
1 1/2 cups bread flour
1 1/2 teaspoons active dry yeast 

Directions:
Add the ingredients to the pan in the order given. (It's important to keep your yeast and water separate until the baking cycle starts. It's also important to make sure your water is the right temperature so the yeast will activate properly!)


Choose the one pound loaf, wheat bread setting...hit start and go enjoy your free time! If you check-in after a couple hours, you might see something like this:


When the timer goes off....pop open the lid, pull out the loaf pan, and put the loaf on a cooling rack. This proved to be easier said than done for this loaf. It puffed up a little more than usual and kind of looked like a mushroom- but it still tasted good!


I had to use a knife to get the handle up to pull the pan out...It was a bit of a struggle, and the top got a bit mangled...but I prevailed over the bread- and it tasted good!


I cut off the mushroom edges and ate them for a snack ;)

Enjoy!

--Lindsay--

Labels: ,

Focaccia: Fantastico or Fiasco?


Hi Friends-
Turns out that this was actually the perfect time for me to start this blog because summer quarter is winding down...Read: Lindsay has way more free time than usual! So, today I decided to bake some bread. I've been wanting to try making some homemade focaccia ever since I tasted some FABULOUS focaccia that a friend made and she told me how easy it was (Shoutout to Rachel for sending me this recipe!) Turns out, it was quite an experience- let me tell you about my afternoon adventure in case you want to give it a try!

Ingredients:
1 1/2 c. warm water (110-115 degrees)
1 Tbsp active dry yeast
1 Tbsp sugar
1/4 c. olive oil, plus more for brushing
1 1/2 tsp salt
4 - 4 1/2 c. flour, sifted


*Let me just point out here that it's important to make sure you actually have enough of each ingredient before you start! As you can see, I was scrapping the bottom of the flour container when I was done!!


Directions:
-In large bowl, combine 3/4 c. warm water, yeast and sugar. (Make sure your water is at the right temperature or the yeast won't work right.)

 
-Let sit for 10 minutes until very frothy (It should look something like the mixture below...)


-Add remaining water, olive oil, salt and 1 c. flour.
-Stir to combine very well, about 2 minutes. (There will probably be some lumps but that's ok.)
-Add remaining flour, 1/2 cup at a time, stirring to combine.
-Scrape off spoon and with hands, knead remaining flour and pieces into dough. 

-Once dough is fully combine, turn onto prepared surface and knead until soft, still a bit sticky and smooth, about 5-7 minutes. (If it sticks to your fingers or the counter, just toss in some more flour!)
-Clean out bowl, dry and lightly cover with olive oil.
-Place ball of dough into bowl, brush top with a bit of olive oil.

-Cover with plastic wrap, a kitchen towel and let rise in a draft-free area for 1 hour. (It will puff up like crazy!)


-After an hour, line 2 thick baking sheets with parchment and brush each with a tsp of olive oil. (I didn't have parchment paper so I used wax paper.)
-Turn dough out onto counter and cut in 4 equal pieces with a bench scraper.
-Turn edges of dough pieces underneath themselves to form a nice round ball and stretch a bit to form 8-inch disks. (This proved to be easier said than done. As you can see, mine did not form into nice, even, round disks...but that's ok. It was hard to get them to stay spread out to 8 inches, so mine are smaller.)

-Place 2 disks onto each baking sheet and cover with plastic wrap and kitchen towel.
-Let rise for 1 hour.
-Meanwhile, prep toppings you would like to use. (I had to do a little research to decide what toppings I wanted to do. All I knew was that I didn't want to make all 4 loaves the same, because then if one is bad, so are all the other. My most adventurous topping decision was balsamic caramelized onion! Thinly slice an onion and toss in a small saute pan:


 Saute over low heat for 10 minutes or so, then add a splash of balsamic vinegar and a pinch of sugar, give them a stir, and then leave them alone for another 15-20 minutes. Remove from heat and cool them down before topping the bread:


-Preheat oven to 425 degrees.
-Meanwhile, using fingertips, make small indentations in top of dough rounds.


-Brush with olive oil, top with toppings of choice, sprinkle with kosher salt and let rise undisturbed while oven preheats.

-Place baking sheets into preheated oven and bake until loaves are baked through, about 20 minutes, rotating loaves half way through cooking time. (Here's where we encounter the slight fiasco! Turns out wax paper didn't work out  too well in the oven. When I opened the oven door after 10 minutes, I was greeted with a cloud of smoke! Luckily the bread wasn't burned, but i had to peel off the wax paper and put them back in the oven. Some stuck, but for the most part the loaves were undamaged:

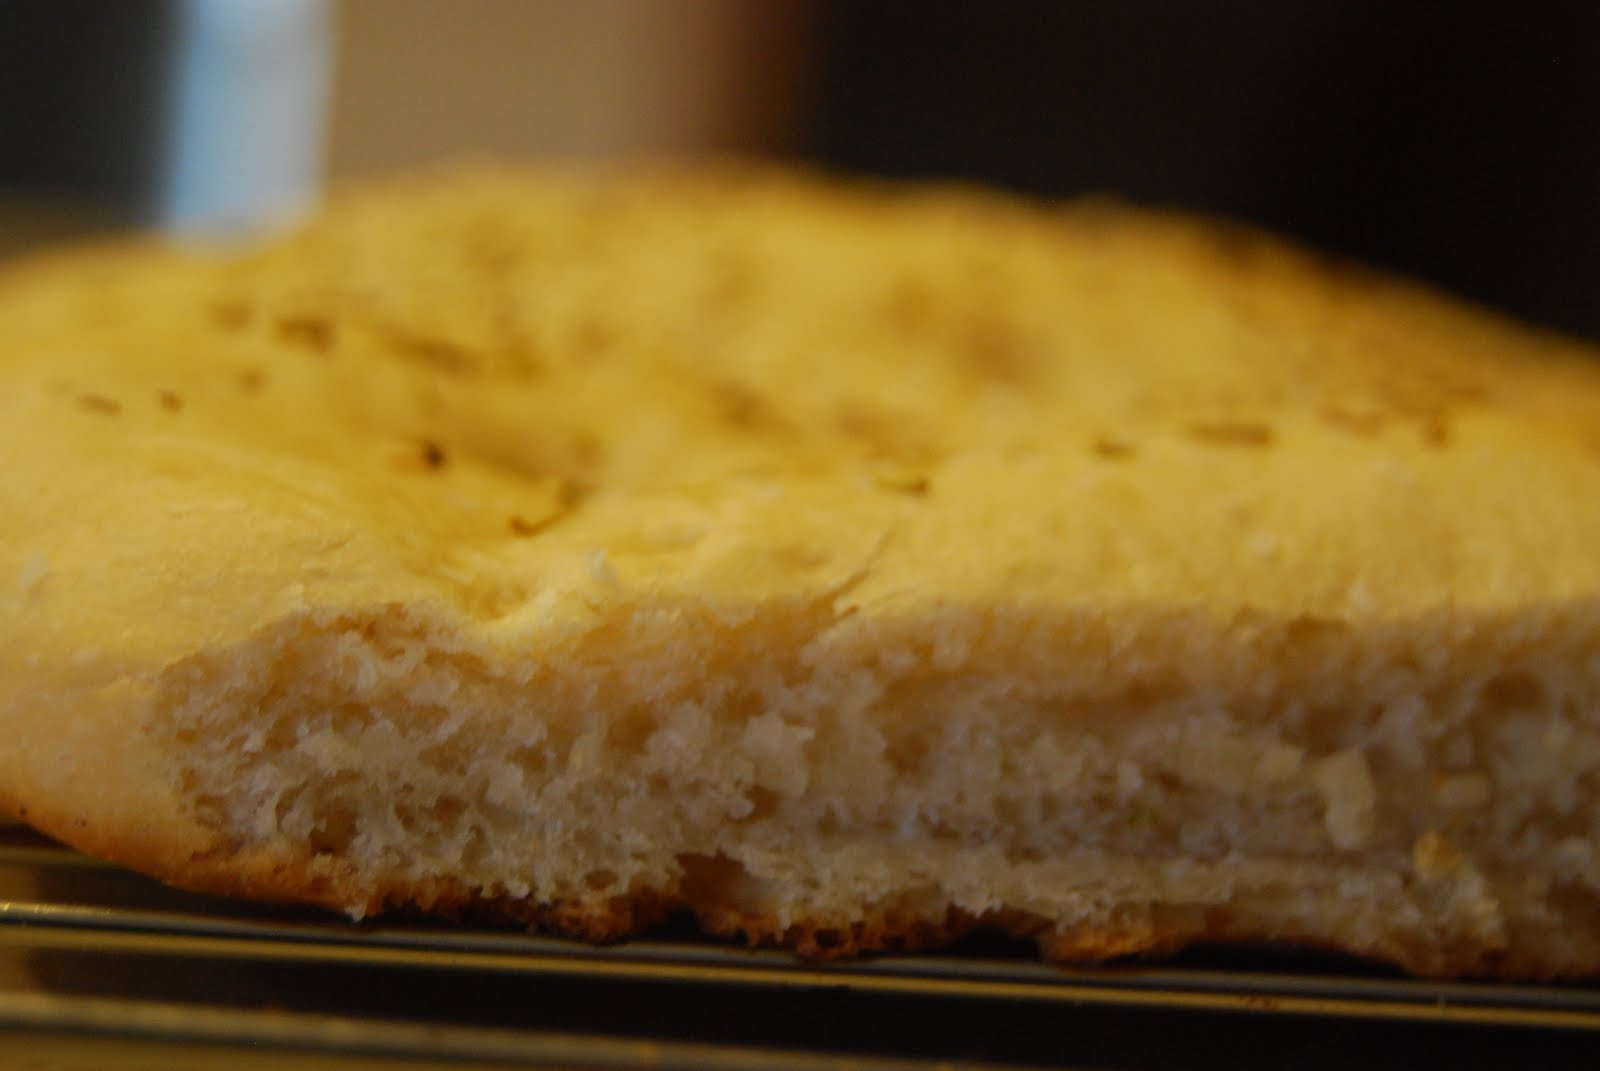
-Remove from oven, let cool, and serve warm or cooled. (Ta da! Parmesan Oregano with Tomatoes, Caramelized Onion, Rosemary and Black Pepper & Rosemary and Oregano)

 
A word to the wise...choose your pan carefully! One pan gave me a crispy brown bottom, and the other gave me two loaves that were much fluffier! *Side note- don't leave the loaves on your counter if you have a cat like mine....you may lose part of your loaf!*

Enjoy!
--Lindsay--

Labels: ,